
If you\’re looking to upgrade your MacBook Pro\’s hard drive, either for more storage or improved performance, this guide is here to help. Replacing the hard drive can breathe new life into your laptop and make it more efficient for your needs. Before starting, there are some important considerations and tools you\’ll need to prepare to ensure a smooth and safe process.
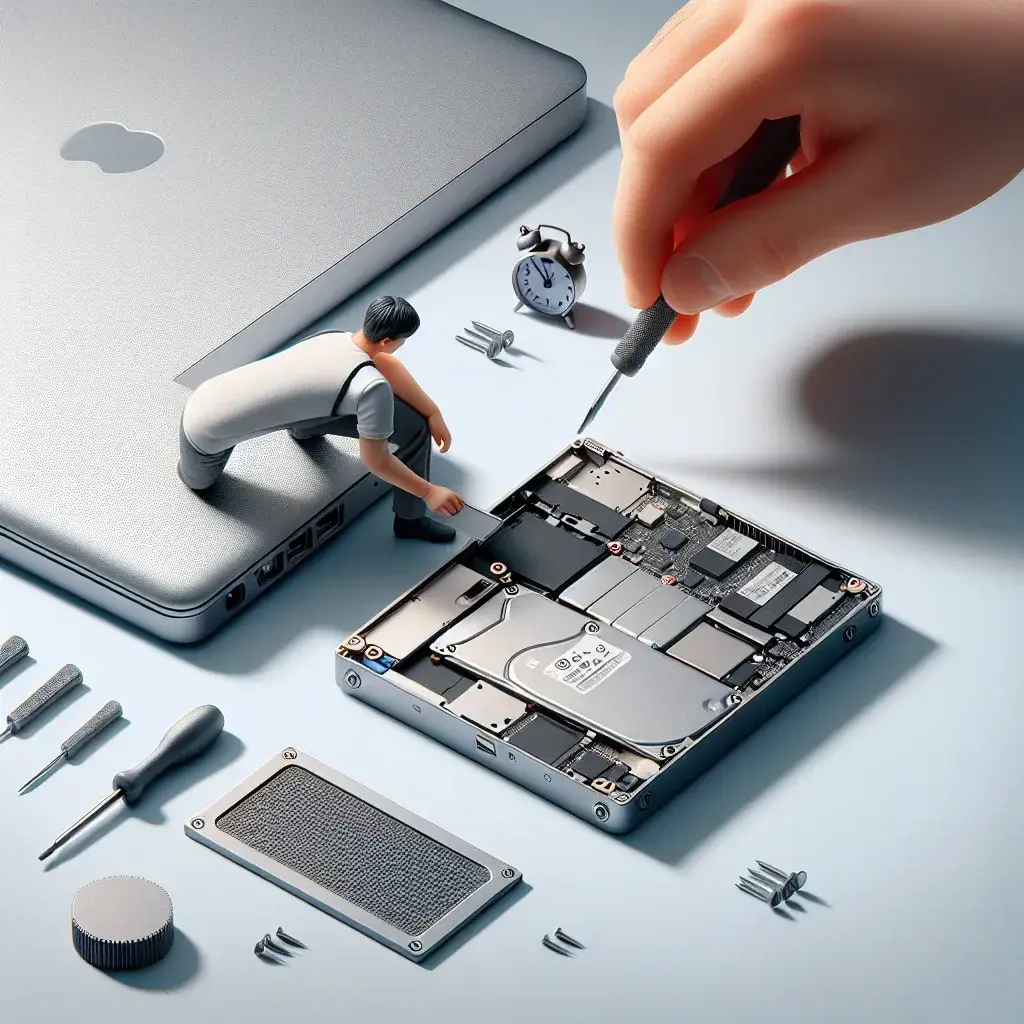
Necessary Tools and Precautions
Before diving into the steps to remove and replace your hard drive, make sure you have the following tools and take the necessary precautions:
- Small Phillips-head screwdriver
- T5 Torx screwdriver
- Anti-static wrist strap (optional but recommended)
- Plastic spudger or pry tool
- Replacement hard drive or SSD
- External hard drive enclosure (for data transfer)
Precautions:
- Backup your data. Ensure all important files are backed up to an external drive or cloud service before starting.
- Work in a clean, static-free environment. Use an anti-static wrist strap if possible.
- Disconnect the power and all peripherals from your MacBook Pro.
Step-by-Step Guide
1. Power Off and Prepare
Ensure your MacBook Pro is completely powered off. Disconnect any cables and peripherals connected to your MacBook Pro. Place your laptop on a clean, flat surface with the bottom panel facing up.
2. Remove the Bottom Case
Using the small Phillips-head screwdriver, remove the screws securing the bottom case. Keep the screws organized, as they can vary in size. Gently lift the bottom case off, starting from the front corners.
3. Disconnect the Battery
Before touching any internal components, it\’s crucial to disconnect the battery to avoid any electrical damage. Use the plastic spudger to gently lift the battery connector from its socket on the logic board.
4. Remove the Hard Drive
Locate the hard drive bracket securing the drive to the MacBook Pro. Use the T5 Torx screwdriver to remove the screws holding the bracket in place. Once the bracket is removed, gently lift the hard drive and disconnect the SATA cable.
5. Install the New Hard Drive
Take your new hard drive or SSD and connect the SATA cable. Place the drive into the hard drive bay, ensuring it\’s aligned properly. Reattach the hard drive bracket using the T5 Torx screws.
6. Reconnect the Battery and Replace the Bottom Case
Reconnect the battery by gently pressing the connector back into its socket. Place the bottom case back onto the MacBook Pro and secure it with the Phillips-head screws you removed earlier.
7. Restore Data
Once the replacement hard drive is installed, power on your MacBook Pro. You will likely need to install macOS on the new drive, which can be done using Internet Recovery or a bootable USB installer. After the operating system is installed, you can restore your data from your backup.
Comparison: HDD vs. SSD
If you are contemplating between replacing your existing hard drive with another HDD or an SSD, here\’s a comparison of the two:
| Feature | HDD | SSD |
|---|---|---|
| Speed | Slower Read/Write speeds | Significantly faster |
| Durability | More prone to physical damage | More durable (no moving parts) |
| Price | Generally cheaper | More expensive |
| Capacity | Higher maximum capacities | Typically lower capacities |
| Power Consumption | Higher | Lower |
Conclusion
Removing and replacing the hard drive in your MacBook Pro can dramatically improve its performance and storage capacity. With the right tools and precautions, the process is relatively straightforward and can be completed in under an hour. Opting for an SSD over an HDD offers several benefits, including increased speed and durability, making it a worthwhile investment for most users.