
Maintaining the health of your PC’s CPU fan is crucial for optimal computer performance. If your fan becomes clogged with dust and debris, it can cause your CPU to overheat, leading to slower performance and even potential damage. Here, we provide a step-by-step guide on how to safely clean your PC’s CPU fan.
Why Clean Your CPU Fan?
Dust buildup in your CPU fan can lead to overheating, reduced airflow, and increased noise. Over time, these issues can compromise the performance and longevity of your computer components. Here is a quick overview of the benefits:
- Improved performance
- Extended lifespan of components
- Reduced noise levels
- Lower risk of overheating
Tools Required
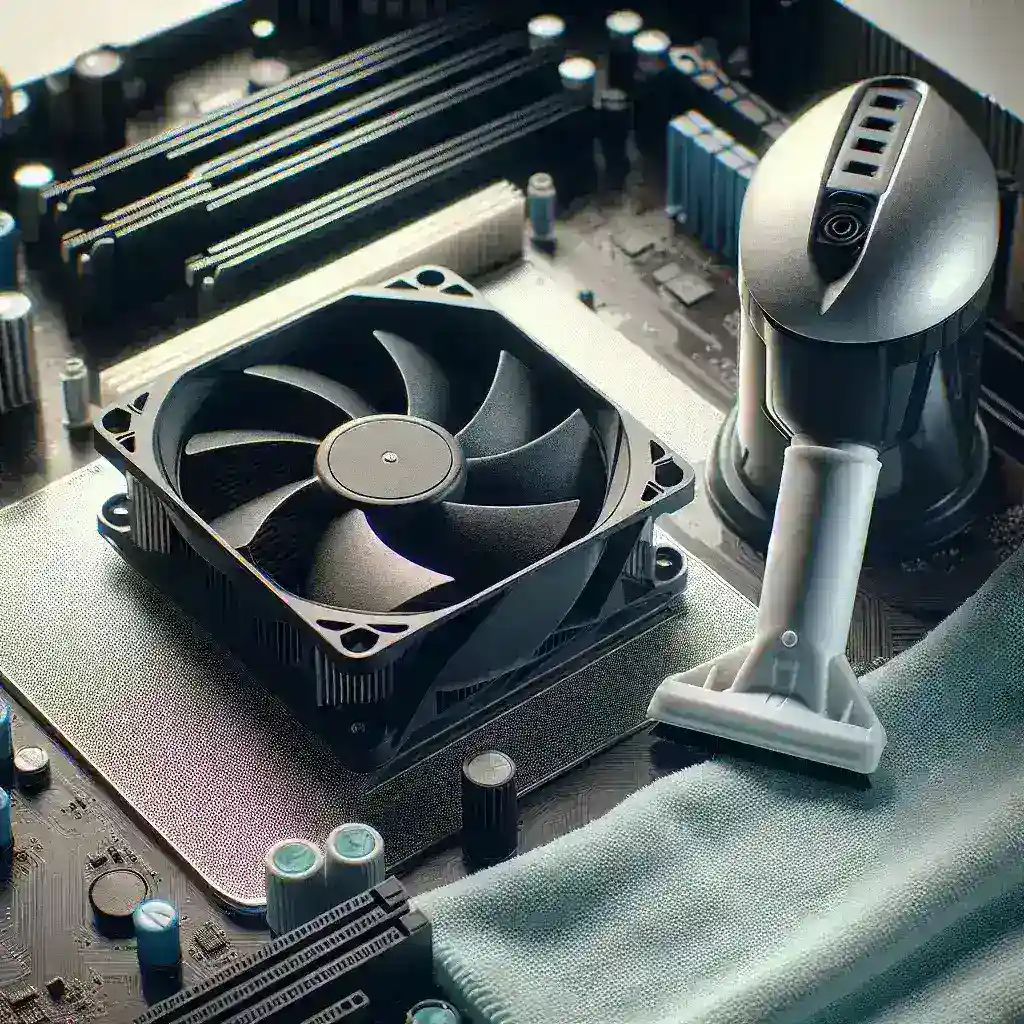
Before you start cleaning your CPU fan, gather the necessary tools:
- Compressed air can
- Soft brush
- Microfiber cloth
- Screwdriver
- Anti-static wrist strap
Step-by-Step Cleaning Process
1. Power Down and Unplug
First, shut down your computer and unplug it from the power source. This ensures your safety and prevents any electrical damage.
2. Open the Case
Use a screwdriver to remove the screws holding the side panel of your computer case in place. Carefully remove the panel to access the internal components.
3. Discharge Static Electricity
Static electricity can damage your computer’s components. Wear an anti-static wrist strap or touch a metal part of the case to discharge any static electricity.
4. Locate the CPU Fan
The CPU fan is typically located on top of the CPU, which is situated in the center of the motherboard. In some systems, the fan may be attached to a heatsink.
5. Remove the Fan
If possible, detach the fan from the heatsink for easier cleaning. This step may require unplugging the fan’s power connector and unscrewing it from its mount.
6. Clean the Fan Blades
Hold the fan blades in place and use compressed air to blow dust out of them. Be sure to keep the can upright to prevent moisture from escaping. Follow up with a soft brush to remove any stubborn dust.
7. Clean the Heatsink
If the fan is still attached to the heatsink, use compressed air to blow out dust from the heatsink fins. A soft brush can help dislodge any stubborn debris.
8. Clean the Surrounding Area
While the case is open, use compressed air and a brush to clean other components and the interior of the case to prevent dust buildup.
9. Reassemble the Fan
Once the fan and heatsink are clean, reattach the fan to the heatsink and reconnect it to the power source. Ensure all screws and connections are secured.
10. Close the Case
Carefully replace the side panel of the case and screw it into place. Make sure all components are securely fastened.
11. Power Up
Plug your computer back into the power source and turn it on. Listen for any unusual noises and monitor the temperature to ensure the cooling system is functioning properly.
Maintenance Tips
To maintain the cleanliness and efficiency of your CPU fan:
- Clean your fan every 3-6 months
- Keep your computer in a clean, dust-free environment
- Use dust filters on air intakes
- Regularly check for and remove dust buildup inside the case
Conclusion
Regular cleaning of your PC’s CPU fan is a simple yet essential task that can enhance the performance and durability of your computer. By following these steps, you can ensure that your cooling system operates efficiently, reducing the risk of overheating and extending the lifespan of your components.