
Introduction
Connecting an LED monitor to your computer can significantly enhance your visual experience, whether you are gaming, working, or just browsing. This guide will walk you through the process step-by-step, ensuring clarity and simplicity, even for beginners.
Prerequisites
Before you start, ensure you have the following:
- Your LED monitor
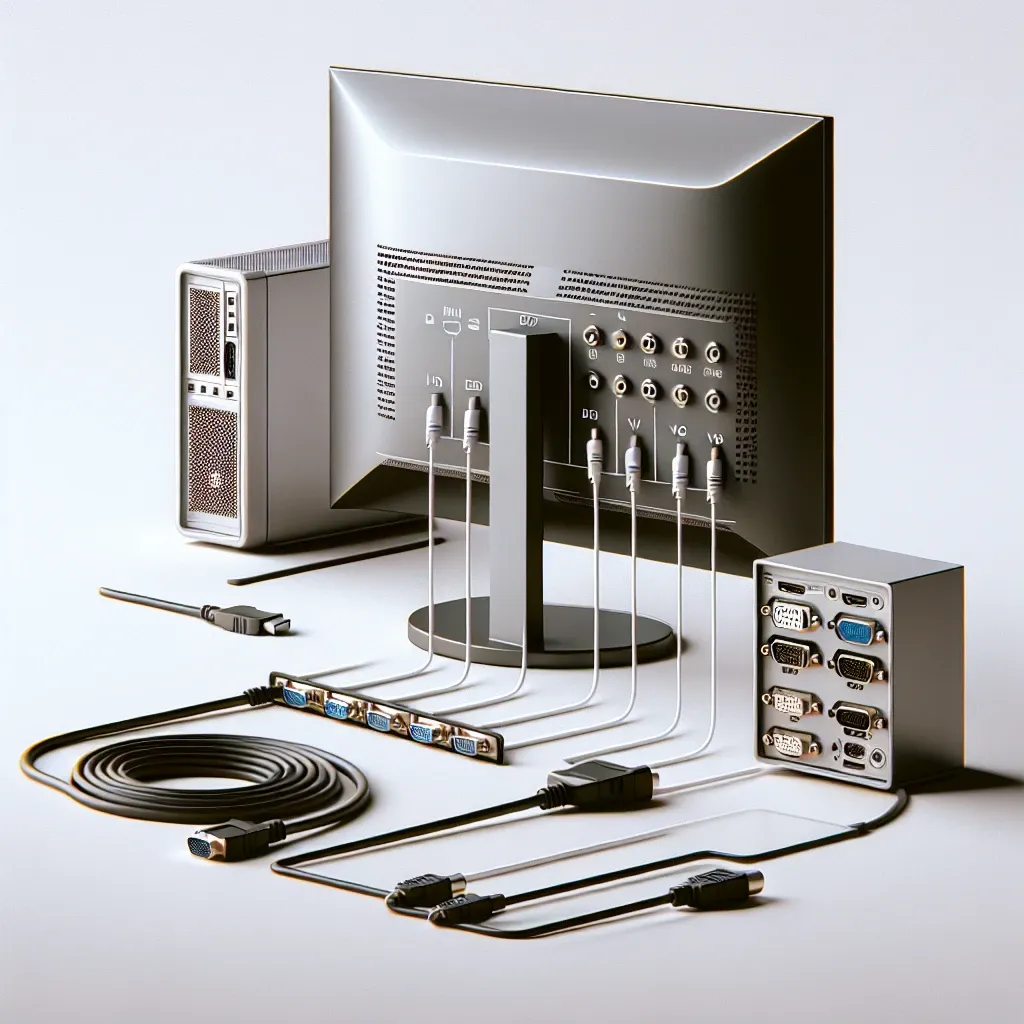
- A compatible cable (HDMI, VGA, DVI, or DisplayPort)
- A computer with an available port that matches your cable
- Power cable or adapter for the LED monitor
Types of Connections
It’s essential to know what types of connections are available and compatible with both your monitor and computer. Below is a table summarizing the common types of connections:
| Connection Type | Description |
|---|---|
| HDMI | High-definition connection, commonly used for most modern monitors and computers. |
| VGA | Analog interface most commonly found in older monitors and computers. |
| DVI | Supports both digital and analog signals, providing high-quality video output. |
| DisplayPort | Supports high-definition audio and video, often used in higher-end systems. |
Step-by-Step Guide
1. Unbox and Place Your Monitor
Carefully unbox your LED monitor and place it on a flat surface. Ensure that it is at a comfortable viewing height.
2. Identify the Ports
Check both your monitor and computer to identify compatible ports. This step is crucial for ensuring a proper connection.
3. Choose the Right Cable
Select the cable that matches the ports available on your monitor and computer. If you have multiple options, HDMI is often the best choice for quality.
4. Connect the Cable
Plug one end of the chosen cable into the monitor and the other end into the computer. Ensure the connection is secure.
5. Power Up Your Monitor
- Connect the power cable to your monitor.
- Plug the power adapter into an electrical outlet.
- Turn on the monitor using the power button.
6. Set Up Your Computer
- Turn on your computer.
- Right-click on the desktop and select ‘Display settings’ (Windows) or ‘System Preferences’ > ‘Displays’ (Mac).
- Select ‘Detect Displays’ if it doesn’t automatically recognize your monitor.
- Adjust the resolution and orientation if needed.
Troubleshooting Tips
1. No Signal
If the monitor shows ‘No Signal’, double-check that the cable connections are secure and that the monitor is set to the correct input source.
2. Flickering Screen
If the screen flickers, try a different cable or port. Also, update your graphics drivers as an outdated driver can cause compatibility issues.
3. Resolution Issues
If the resolution doesn’t look right, go back to ‘Display settings’ and adjust the resolution to the recommended setting for your monitor.
Conclusion
Connecting an LED monitor to your computer is a straightforward process that can greatly enhance your digital experience. By following these steps and troubleshooting tips, you can enjoy a seamless and high-quality display setup.